Unlock the Secret to Creamy, Non-Slimy Oat Milk in Just 5 Minutes!
Oat milk has undeniably become a star in the plant-based world, gracing everything from our morning coffees at cafes to store shelves packed with various brands and even delightful oat milk ice creams. Its naturally sweet, subtly nutty flavor and wonderfully creamy texture make it a versatile dairy alternative for countless applications. But what if we told you that mastering a perfect, creamy, and truly non-slimy homemade oat milk is not only possible but takes just 5 minutes of active preparation?
For too long, the quest for homemade oat milk has been plagued by the dreaded slimy texture, leaving many home cooks frustrated and reaching for expensive store-bought cartons. But fear not! This comprehensive guide will show you exactly how to make oat milk recipe that rivals the best commercial options, all while avoiding the common pitfalls. Get ready to transform simple rolled oats and water into a smooth, luxurious beverage that’s perfect for everything from lattes to baking, without any special equipment or lengthy soaking.
Why Homemade Oat Milk is a Game Changer
Once you discover the simplicity and deliciousness of DIY oat milk, you might never look back at store-bought varieties. Here’s why making your own is such a smart choice:
- Cost-Effective: Store-bought oat milk can be surprisingly expensive. Making your own from humble rolled oats and water dramatically slashes your grocery bill, allowing you to enjoy this plant-based delight more often.
- Control Over Ingredients: Commercial oat milks often contain added sugars, oils (like canola or sunflower oil), and various stabilizers, gums, and emulsifiers. When you make your own, you control exactly what goes into it – usually just oats, water, and perhaps a pinch of salt or a touch of natural sweetener. This is a huge plus for those with dietary sensitivities or who simply prefer clean eating.
- Unbeatable Freshness and Taste: There’s nothing quite like the taste of freshly made oat milk. It’s vibrant, naturally sweet, and free from the processed undertones sometimes found in packaged versions.
- Environmentally Friendly: By making your own, you significantly reduce waste from single-use cartons, contributing to a more sustainable lifestyle.
- Lightning Fast: Unlike nut milks that require hours of soaking, this how to make oat milk recipe genuinely comes together in 5 minutes, making it incredibly convenient for busy schedules.
The Golden Rules for Non-Slimy Oat Milk
The biggest hurdle in homemade oat milk production is preventing that unappealing slimy or gelatinous texture. The secret lies in understanding the oats themselves. Oats contain starch, and when activated by heat or excessive friction, this starch can create a gummy consistency. By following a few crucial rules, you can easily bypass this issue:
- Use Cold Water: Always start with chilled, filtered water. Cold temperatures help to keep the starches dormant, preventing them from activating and causing sliminess during blending.
- Don't Over-Blend: This is perhaps the most critical rule. Blending for too long generates heat and over-processes the oats, releasing excessive starch. Aim for a quick, powerful blend – usually 30 to 45 seconds is plenty for a high-speed blender.
- Never Squeeze the Pulp: Unlike almond milk, where you might wring every last drop from the nut milk bag, vigorously squeezing oat pulp will force more starch and fine oat particles through your strainer, resulting in a slimy, gritty texture. Let gravity do the work!
- Use the Right Oats: Stick to old-fashioned rolled oats. Instant oats are too processed and can lead to sliminess, while steel-cut oats are too tough and won't blend properly without soaking.
Ingredients & Essential Equipment for Your Homemade Oat Milk
Gathering your simple supplies is the first step towards your delicious homemade oat milk:
Ingredients:
- 1 cup Old-Fashioned Rolled Oats: Ensure they are not instant or quick-cooking oats. Organic is a great choice if available.
- 4 cups Cold, Filtered Water: The colder, the better!
- Pinch of Sea Salt (Optional): Enhances the natural flavor of the oats.
- Sweetener (Optional): 1-2 tablespoons maple syrup, agave, or a few pitted dates for a sweeter milk.
- Vanilla Extract (Optional): ½ teaspoon for a hint of warmth.
Essential Equipment:
- High-Speed Blender: A powerful blender is key to quickly breaking down the oats without over-processing. Brands like Vitamix or Blendtec work wonders.
- Fine-Mesh Strainer: This is crucial for separating the milk from the pulp. A standard kitchen fine-mesh strainer works perfectly.
- Large Bowl: To collect the strained oat milk.
- Airtight Container/Bottle: For storing your finished oat milk in the fridge.
- Optional: A nut milk bag for an even finer strain, though a fine-mesh strainer is often sufficient and easier to clean.
Step-by-Step: Your 5-Minute Creamy Oat Milk Recipe
Ready to make magic? Here’s the straightforward method for a perfect, non-slimy batch of homemade oat milk.
1. Blending for Perfection
Add the rolled oats, cold filtered water, and any optional flavorings (like salt, maple syrup, or vanilla extract) to your high-speed blender. Secure the lid tightly.
Blend on high for precisely 30-45 seconds. The goal is to quickly break down the oats and create a creamy, white liquid. Resist the urge to blend longer, as this is where sliminess often begins. The mixture should look opaque and milky, not frothy or warm.
2. The Art of Straining
Place your fine-mesh strainer over a large bowl. Slowly pour the blended oat mixture through the strainer. Do not rush this step.
Allow the liquid to drain naturally into the bowl. The oat pulp will collect in the strainer. Crucially, do NOT press, push, or squeeze the pulp to extract more liquid. Let it sit for a minute or two to drain on its own. Any liquid that remains in the pulp, leave it. Discard the leftover oat pulp.
3. Optional: Second Strain for Ultimate Smoothness
For an exceptionally smooth and sediment-free oat milk, you can strain the liquid a second time. Place a clean fine-mesh strainer over another clean bowl (or directly into your storage container) and pour the already strained oat milk through it once more. Again, do not press the solids. This step is optional but highly recommended for the best texture, especially if you plan to use it in coffee or for lattes.
4. Chill and Enjoy!
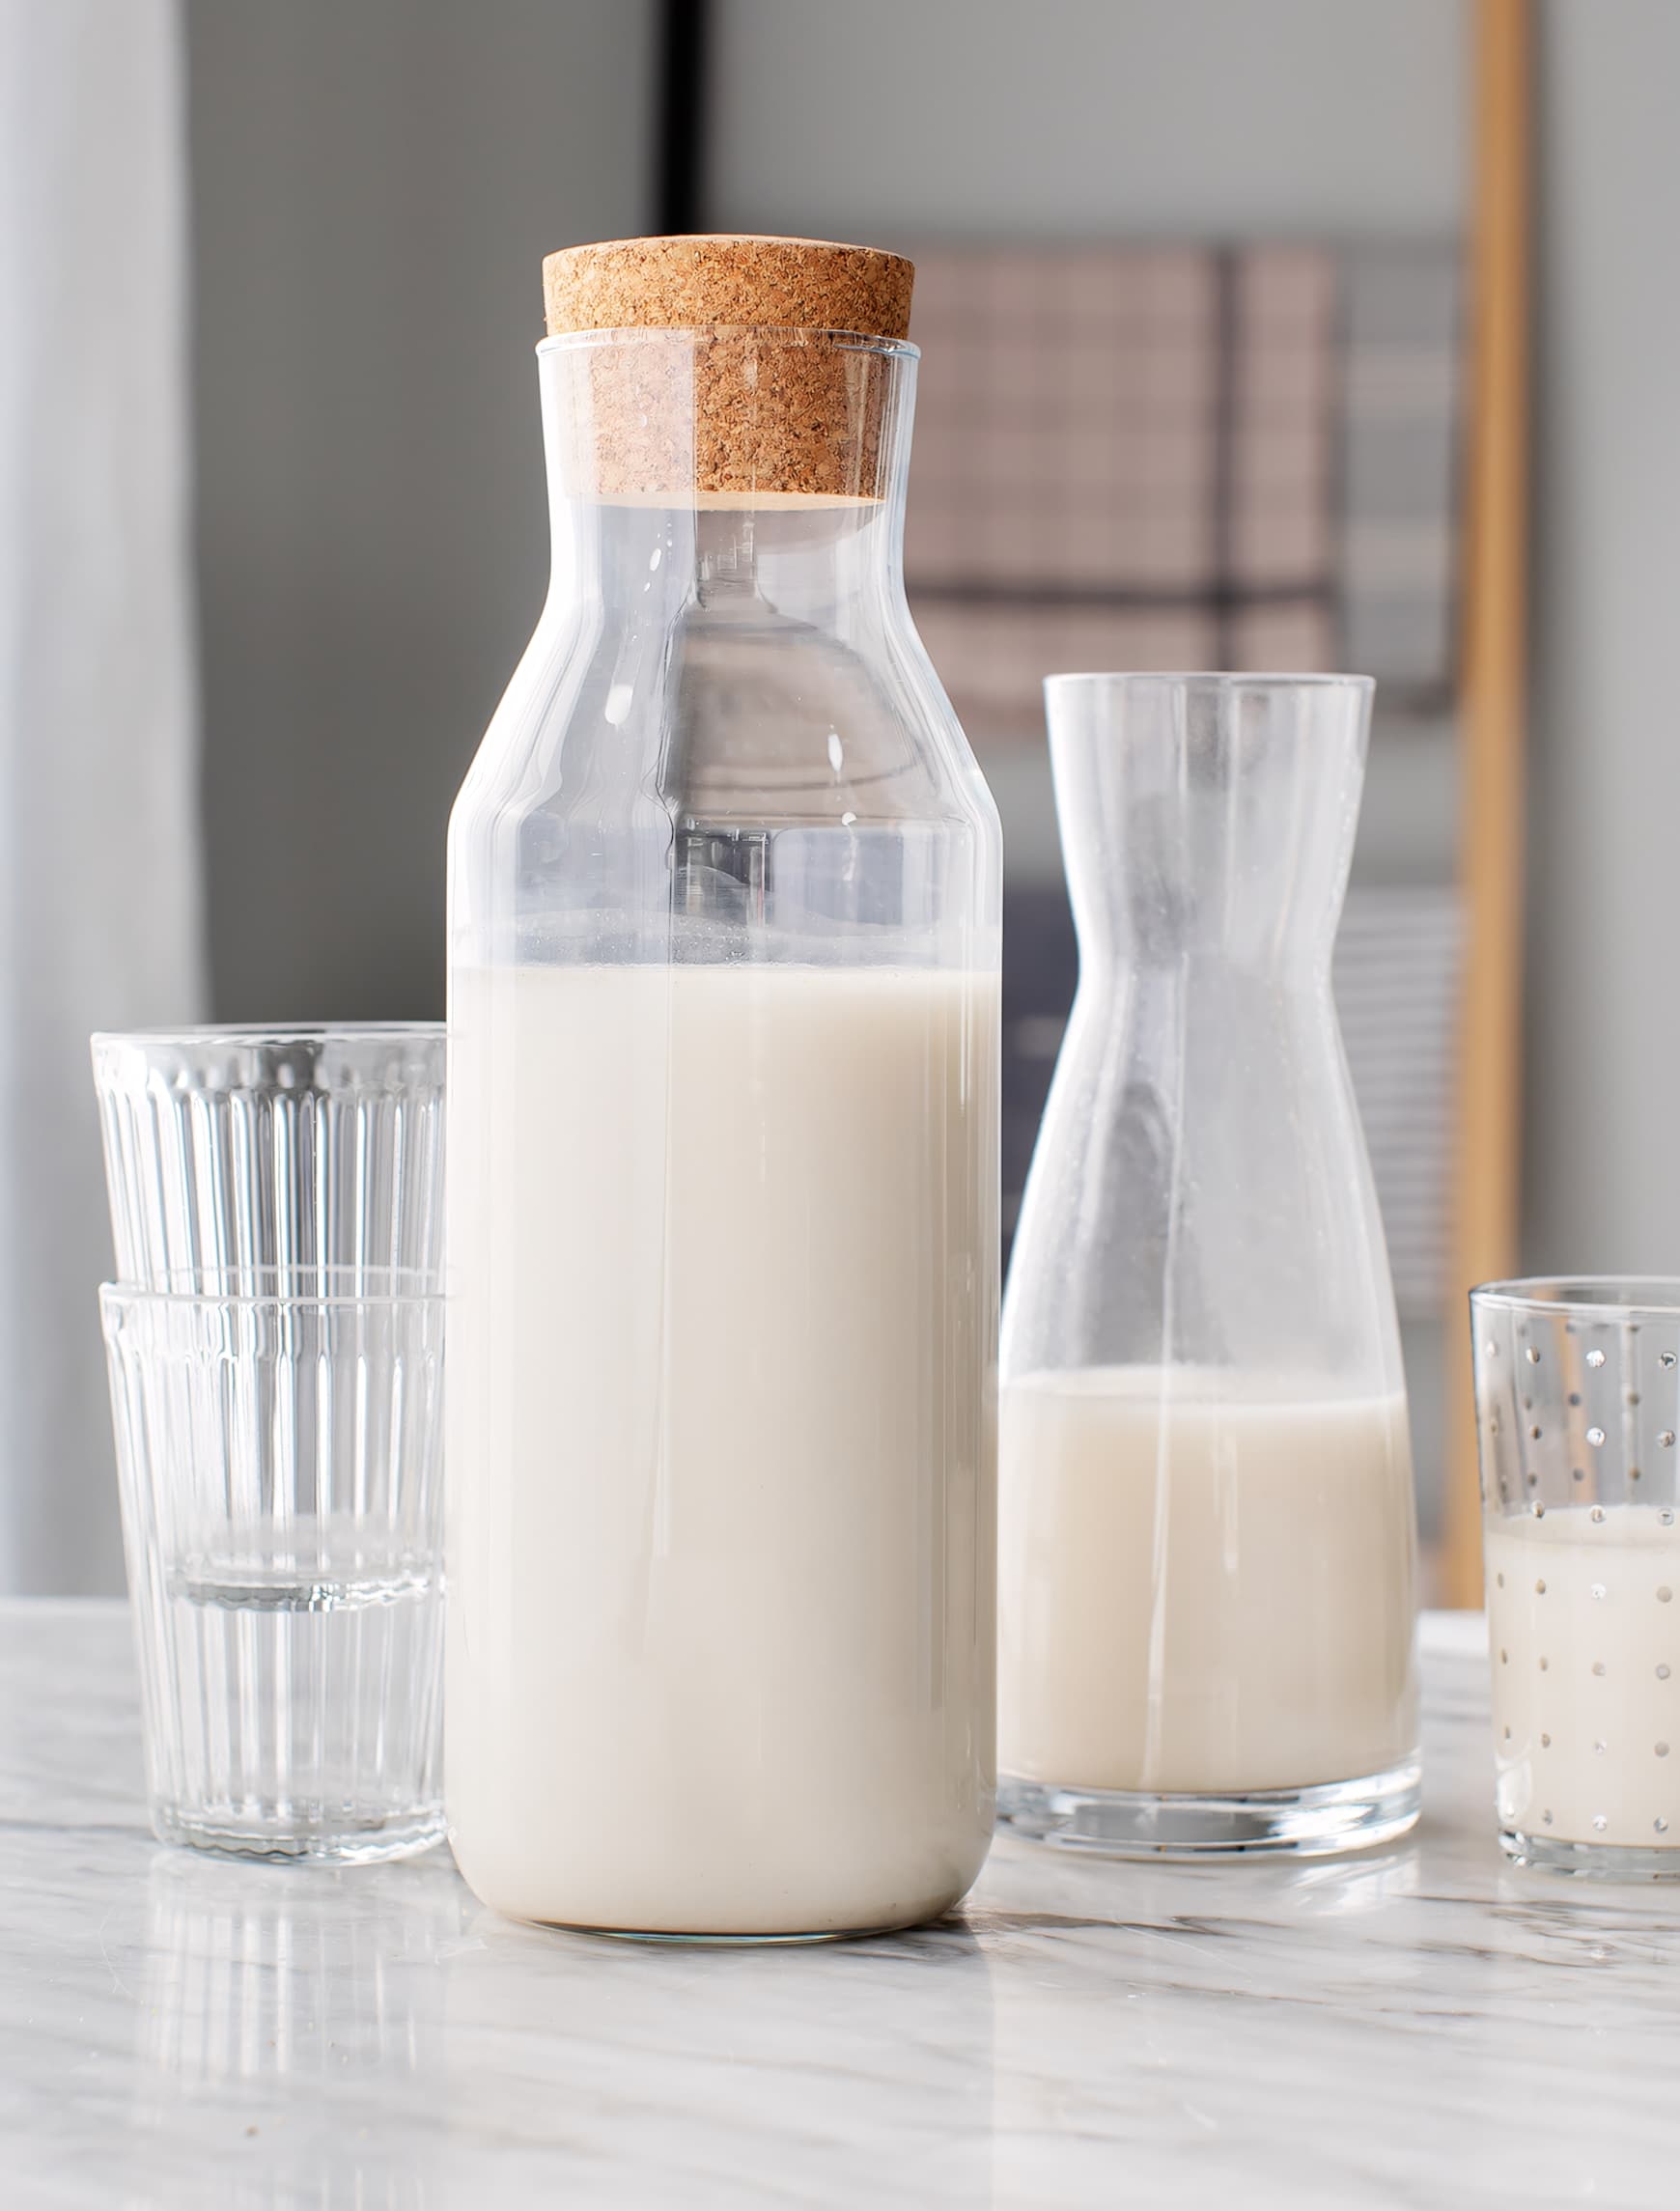
Once strained, transfer your homemade oat milk to an airtight container or bottle. Place it in the refrigerator to chill thoroughly. Homemade oat milk is best served cold.
When you're ready to use it, you'll notice some natural separation – this is perfectly normal! Unlike other dairy-free milks, we actually recommend not shaking it vigorously. Instead, simply allow any settled oat particles to remain at the bottom, and gently pour the creamy milk from the top. This technique helps maintain its smooth texture and prevents stirring up any potential starch that might have settled.
Creative Ways to Enjoy Your Homemade Oat Milk
Now that you've mastered this amazing how to make oat milk recipe, the possibilities are endless! Here are some fantastic ways to incorporate your fresh, creamy creation into your daily routine:
- Coffee & Lattes: This is where homemade oat milk truly shines! Its natural creaminess and subtle sweetness make it an ideal base for hot or iced coffee, lattes, cappuccinos, and matcha. For more tips on getting that perfect foam and flavor, check out our guide: Your Guide to Perfect Oat Milk for Coffee & Baking.
- Smoothies: Add a splash to your favorite fruit and veggie smoothies for an extra creamy boost.
- Cereal & Oatmeal: Pour it over your morning granola, cornflakes, or use it as the liquid base for creamy Easy Homemade Oat Milk: Super Creamy, 2 Ingredients or overnight oats.
- Baking: Substitute dairy milk with your homemade oat milk in virtually any baking recipe. It works beautifully in muffins, pancakes, waffles, cakes, and quick breads, lending a lovely moisture and subtle oat flavor.
- Hot Chocolate: Create a decadent, dairy-free hot chocolate.
- Chilled Drink: Simply enjoy a cold glass with a few ice cubes for a refreshing beverage.
Flavor Boosts & Customizations
While plain oat milk is delicious on its own, don't hesitate to experiment with additions to tailor it to your taste:
- Sweeteners: Adjust the amount of maple syrup, agave nectar, or pitted dates to achieve your desired sweetness level.
- Spices: A pinch of cinnamon, nutmeg, or cardamom can add a wonderful aroma and flavor, especially if you're using it in coffee or oatmeal.
- Cocoa Powder: Blend in a tablespoon of unsweetened cocoa powder for a quick chocolate oat milk.
- Maca Powder: For an earthy, malty boost.
Storing Your Homemade Oat Milk
Your fresh homemade oat milk will last for 3-5 days when stored in an airtight container in the refrigerator. We recommend using a glass jar or bottle. Due to the natural ingredients and lack of stabilizers, it won't last as long as store-bought versions, so try to consume it within that timeframe for the best quality and taste. Always give it a quick sniff before using to ensure freshness.
Troubleshooting Common Oat Milk Issues
Even with the best intentions, sometimes things go awry. Here’s a quick guide to troubleshooting common problems:
- "My oat milk is slimy!" This is almost always due to over-blending or squeezing the pulp. Remember, 30-45 seconds of blending is sufficient, and resist the urge to squeeze the pulp. Using very cold water can also help mitigate this.
- "My oat milk is grainy!" If your milk feels gritty, it usually means your strainer wasn't fine enough, or you might have pressed the pulp, forcing fine oat particles through. Try a finer mesh strainer or consider a second strain for ultimate smoothness.
- "My oat milk separates a lot!" Natural separation is normal with homemade plant milks as there are no emulsifiers. As mentioned, simply pour from the top, avoiding disturbing the settled solids too much.
Conclusion
Mastering the art of homemade oat milk is a truly rewarding experience. Not only is it incredibly simple and quick, but it also offers a fresh, creamy, and additive-free alternative to store-bought options. By understanding the few key rules – using cold water, not over-blending, and avoiding squeezing the pulp – you can consistently achieve a perfectly smooth, non-slimy texture every time.
So, ditch the carton and embrace the simplicity of DIY. Once you try this easy and delicious how to make oat milk recipe, you'll wonder why you ever bought it!
