Your Guide to Perfect Oat Milk for Coffee & Baking
In recent years, oat milk has exploded in popularity, becoming a staple in coffee shops and grocery stores worldwide. Its creamy texture and naturally sweet, mild flavor make it a fantastic dairy-free alternative for everything from lattes to baked goods. While store-bought options are plentiful, mastering a how to make oat milk recipe at home offers unparalleled freshness, cost savings, and control over ingredients. Forget the expensive cartons and questionable additives – we’re here to show you how to whip up incredibly smooth, non-slimy oat milk in minutes!
The Magic of Homemade Oat Milk: Why Bother?
The allure of homemade oat milk extends beyond just saving a few dollars. When you make your own, you gain complete control over what goes into your plant-based milk. Commercial oat milks often contain stabilizers, gums, and oils (like rapeseed or sunflower oil) to achieve a desired texture and shelf life. While these aren't necessarily harmful, many prefer to avoid them. Our simple easy homemade oat milk: super creamy, 2 ingredients method ensures your milk is free from any unnecessary additives, offering a pure, clean taste.
Beyond ingredient control, consider these compelling reasons to try your hand at this simple recipe:
- Cost-Effective: Oats are incredibly inexpensive, making homemade oat milk a fraction of the cost of store-bought versions.
- Freshness: Enjoy milk that’s as fresh as possible, without the need for preservatives.
- Customizable: Easily adjust sweetness and flavor profiles to suit your personal preferences.
- Eco-Friendly: Reduce waste by reusing containers and avoiding excessive packaging.
- Quick & Easy: Unlike many nut milks that require soaking, oat milk comes together in about five minutes flat.
Many shy away from making oat milk at home due to fear of a “slimy” or “gummy” texture. This is a common pitfall, but entirely avoidable with the right technique. Our guide will ensure your homemade oat milk is always smooth, creamy, and delightful – perfect for your morning coffee or favorite baking projects.
Unlocking the Perfect How to Make Oat Milk Recipe (No Slimy Texture!)
The secret to fantastic homemade oat milk lies in understanding the unique properties of oats. Oats release starch when they are blended too vigorously or strained too aggressively, which is what leads to that undesirable slimy texture. By following a few crucial steps, you can create a truly luxurious and non-slimy oat milk every time.
Ingredients You’ll Need:
- 1 cup Rolled Oats: This is key! Use old-fashioned rolled oats, not quick oats (which can be too starchy and lead to sliminess) or steel-cut oats (which are too tough). Ensure they are certified gluten-free if you have dietary restrictions.
- 4 cups Filtered Water: Using cold, filtered water is best for both taste and texture.
- Optional Additions:
- A pinch of sea salt (enhances flavor and balances sweetness).
- 1-2 tablespoons maple syrup, agave nectar, or 1-2 pitted Medjool dates (for sweetness).
- ½ teaspoon vanilla extract (for aromatic depth).
Equipment Required:
- High-Speed Blender: A powerful blender (like a Vitamix or Blendtec) is essential for quickly and efficiently breaking down the oats without over-processing.
- Fine-Mesh Strainer: This is arguably the most critical piece of equipment. A very fine mesh strainer will catch even the tiniest oat particles.
- Large Bowl: To collect your milk during straining.
- Airtight Container: For storing your finished oat milk in the fridge.
Step-by-Step Instructions:
- Combine & Blend (Quickly!): Add the rolled oats, cold filtered water, and any optional flavorings (salt, sweetener, vanilla) to your high-speed blender. Blend on high for precisely 30-45 seconds. Do NOT over-blend! Blending for too long heats the mixture and over-processes the oats, releasing excessive starch which is the primary cause of sliminess. The liquid should look creamy and opaque.
- First Strain (Gently!): Place your fine-mesh strainer over a large bowl. Carefully pour the oat milk mixture through the strainer. Resist the urge to press or squeeze the oat pulp in the strainer. Simply let gravity do its work. The goal is to allow the liquid to pass through freely, leaving the majority of the pulp behind. Gently shake the strainer if needed, but avoid pressing. Discard the oat pulp – it has served its purpose!
- Second Strain (Optional, for Ultimate Smoothness): For an exceptionally smooth, professional-grade oat milk, repeat the straining process. Clean your strainer or use a fresh one, place it over another clean bowl or directly into your storage container, and pour the milk through again. Again, do not press the pulp. This extra step ensures no tiny particles make it into your final product, resulting in the silkiest texture possible.
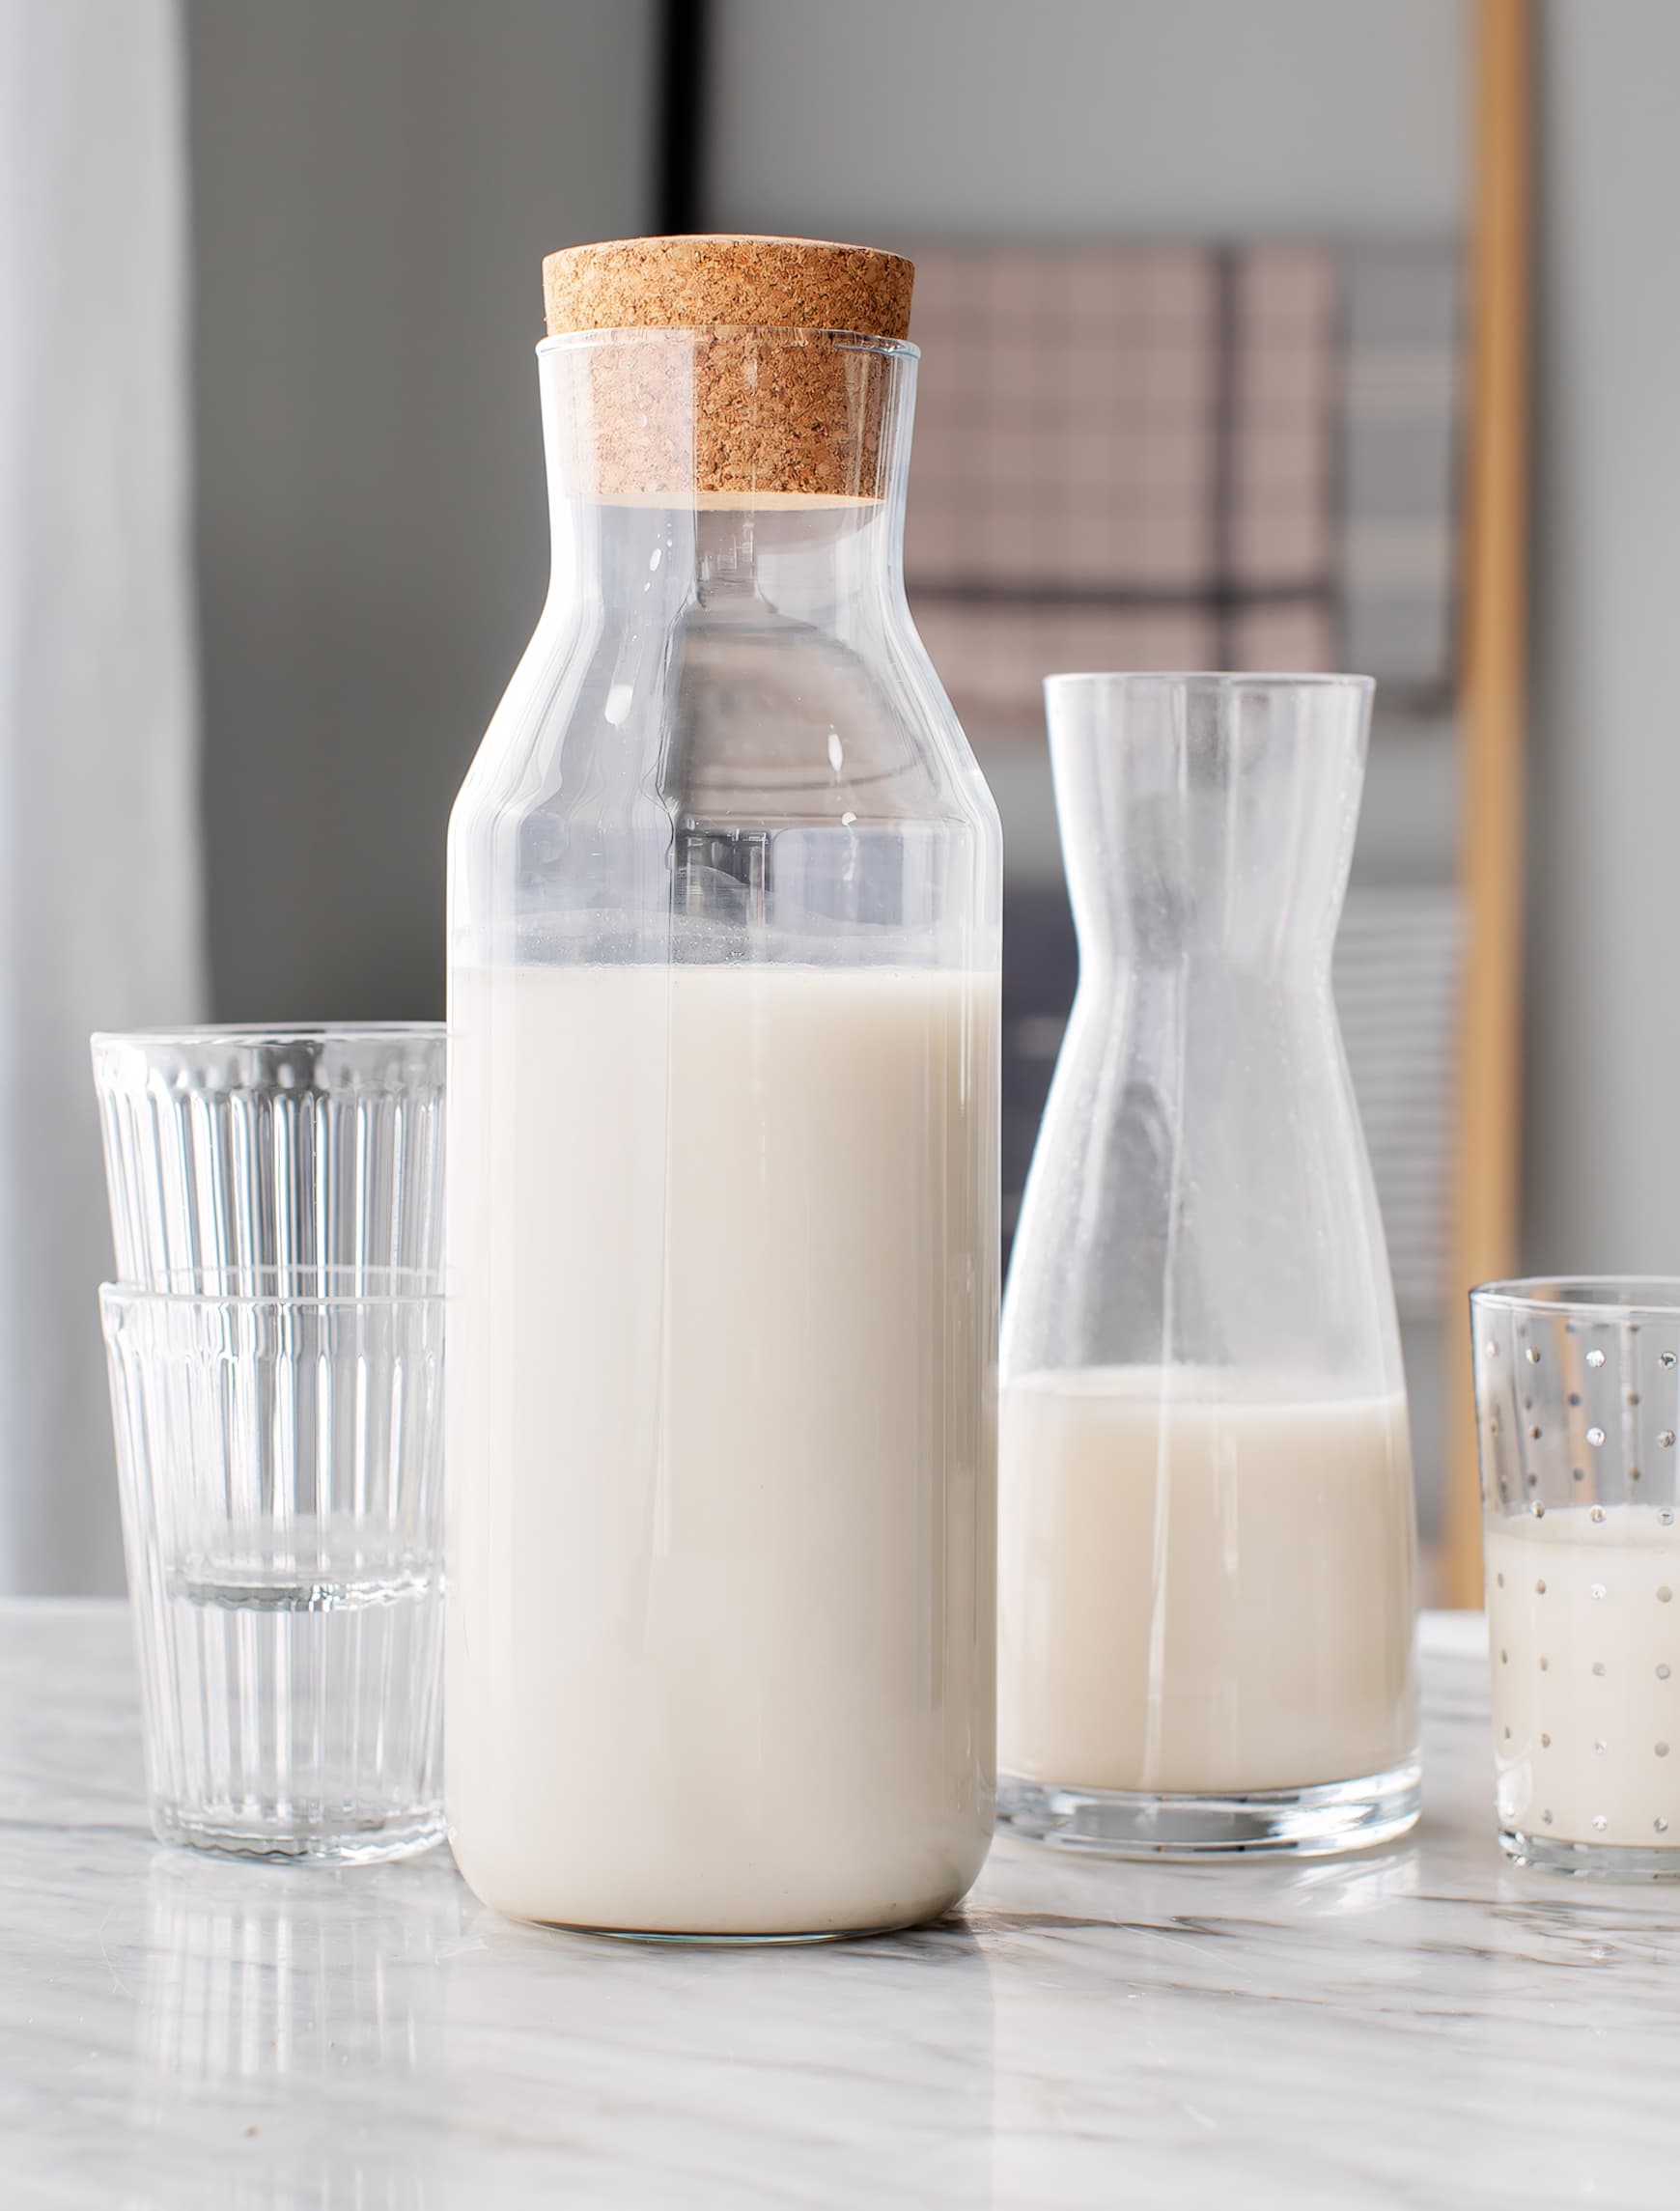
- Chill & Enjoy: Transfer your freshly strained oat milk into an airtight container. Store it in the refrigerator. Oat milk is always best when served cold.
Troubleshooting Common Oat Milk Mistakes
- Slimy Texture: This is almost always due to over-blending or over-squeezing the oat pulp. Remember: 30-45 seconds in the blender, and absolutely no squeezing during straining! Cold water also helps minimize starch release.
- Gritty Texture: If your oat milk feels gritty, your strainer might not be fine enough, or you might have skipped the optional second strain. Ensure your strainer has a very tight mesh.
- Separation in the Fridge: It’s completely normal for homemade oat milk to separate into layers in the fridge. This is not a sign of spoilage, just the natural settling of oat particles. Instead of shaking (which can sometimes re-introduce a bit of sliminess), simply give the container a gentle swirl or pour the creamy milk from the top, leaving any settled sediment behind.
Elevate Your Oat Milk: Flavor & Usage Ideas
Once you've mastered the easy homemade oat milk: super creamy, 2 ingredients recipe, you'll be amazed at its versatility. It's not just for coffee; its inherent creaminess and subtle sweetness make it an excellent addition to a wide range of dishes.
Creative Flavor Boosts:
While delicious on its own, you can easily customize your oat milk’s flavor profile:
- Sweeteners: Maple syrup, agave nectar, pitted dates, or a touch of stevia can enhance its natural sweetness.
- Extracts: Vanilla extract is a classic, but almond extract, peppermint extract, or even a hint of orange zest can add intriguing notes.
- Spices: A pinch of cinnamon, nutmeg, or cardamom can transform your oat milk into a cozy beverage, especially perfect for fall.
- Cocoa Powder: For a chocolatey treat, blend in a tablespoon of unsweetened cocoa powder.
How to Use Your Homemade Oat Milk:
- Coffee & Tea: This is where oat milk truly shines! Its rich, creamy texture and subtle sweetness make it ideal for lattes, cappuccinos, or simply a splash in your morning brew. Many find it froths beautifully, creating barista-quality drinks at home.
- Baking: Use it as a direct substitute for dairy milk in recipes like muffins, pancakes, waffles, cakes, and quick breads. Its natural sweetness and richness can even enhance the final product. Imagine fluffy vegan chocolate cake, moist blueberry muffins, or tender cinnamon rolls – all made with your fresh homemade oat milk!
- Breakfast Staples: Whisk it into your oatmeal or overnight oats for an extra creamy base. Blend it into smoothies for a thick and satisfying texture. It's also great over your favorite granola or cereal.
- Smoothies: A fantastic base for any smoothie, adding creaminess without overpowering other flavors.
- Standalone Beverage: Enjoy it chilled over ice as a refreshing and nutritious drink.
While its oat-y flavor is delightful in sweet applications, we generally don't recommend using homemade oat milk in savory recipes, as its distinct taste might clash with savory profiles.
Storage and Shelf Life
Your fresh, homemade oat milk should be stored in an airtight container in the refrigerator. Due to the lack of preservatives, it typically lasts for 3-5 days. Always give it a quick sniff before using if you're unsure. While separation is natural, any off-smell or unusual thickness indicates it's time to make a fresh batch!
Conclusion
Mastering the how to make oat milk recipe at home is a game-changer for anyone seeking a delicious, healthy, and versatile plant-based milk. With just a few simple ingredients and our foolproof method, you can consistently create smooth, creamy, and non-slimy oat milk that rivals – and often surpasses – store-bought options. So, gather your oats, fire up your blender, and prepare to elevate your coffee, baking, and everyday enjoyment with this homemade delight!
